

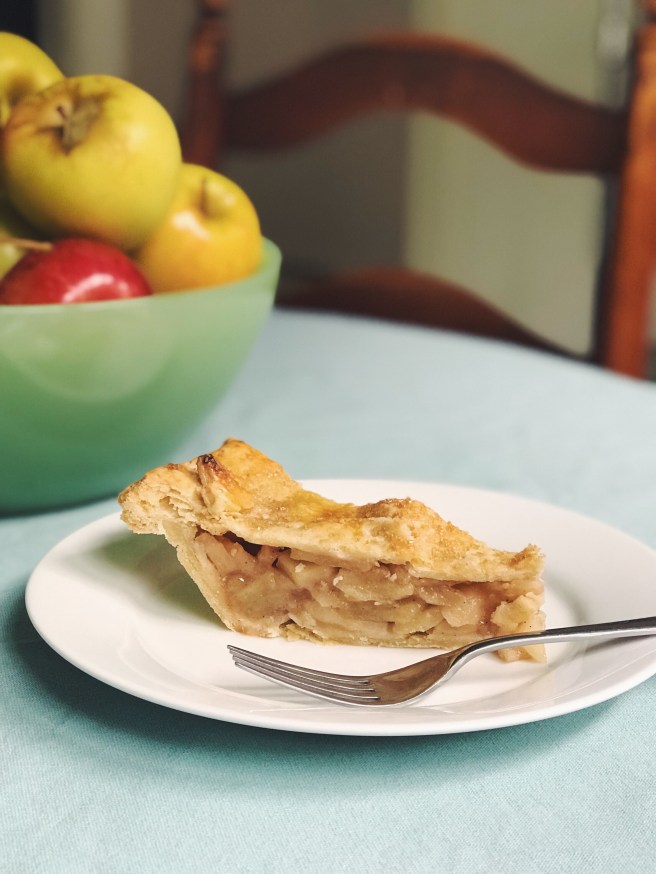
I was tasked with pies (apple and pecan!) for our big Thanksgiving gathering, which reminded me I keep planning to post this you-can-make-pie-crust-too pep talk. You really can! It’s all in the timing.
I decided to attempt making pie crust on my own as a teenager, armed with The Joy of Cooking and not much else. My first attempts were pretty rough, with tough, overcooked edges and juice leaking everywhere. Fortunately, I’ve had plenty of willing pie-testers over the years and have made some serious improvement.
Julia Child’s pate brisee instructions in Mastering the Art of French cooking are just perfect, so I’ll so share that recipe along with my own tips.
If you’re nervous to try, just keep a ready-made crust on hand in the fridge. If things go awry, you’ve got a back-up!
Key Concepts
Temperature – Keep everything chilled, including your hands! If the butter melts before your pastry hits the oven, you won’t get any flaky layers. Choose a work surface as far from your warm oven as possible.
Speed – Work fast, and touch the dough as little as possible. Over-blending leads to tough pastry crust. Less is definitely more!
Timing – Let your dough rest in the fridge for at least 20-30 minutes before rolling it out so that the gluten can develop. Chill your assembled pie in the freezer for another 15-20 minutes before you pop it in the oven. This prevents shrinking and keeps your crisp edges in tact.
Fat Content – All-butter recipes abound, but Julia’s recipe includes a bit of shortening, which makes this crust flaky without fail. My opinion is this: I don’t eat pie enough to worry about it, and if I’m going to eat it, let it be melt-in-your-mouth flaky!
The Recipe
Pate Brisee (Shortcrust Pastry, or Short Paste)
Mastering the Art of French Cooking, Page 140
2 cups all-purpose flour (scooped and leveled)
1 tsp salt
1/4 tsp sugar
6 ounces (1 1/2 sticks) chilled butter cut into 1/2 inch bits
4 Tbs chilled shortening
A scant* half cup of iced water, plus droplets more as needed
*Scant means just barely enough… use only the minimum amount of water, or your crust will be too soft and will shrink when baked.
I use a food processor to mix up my dough – it’s so fast! If you don’t have a food processor, check out this video on hand mixing that our friend, Chef Didi Davis, recently made.
Here are Julia’s instructions for mixing your pastry dough in a 2-quart (or larger) food processor:
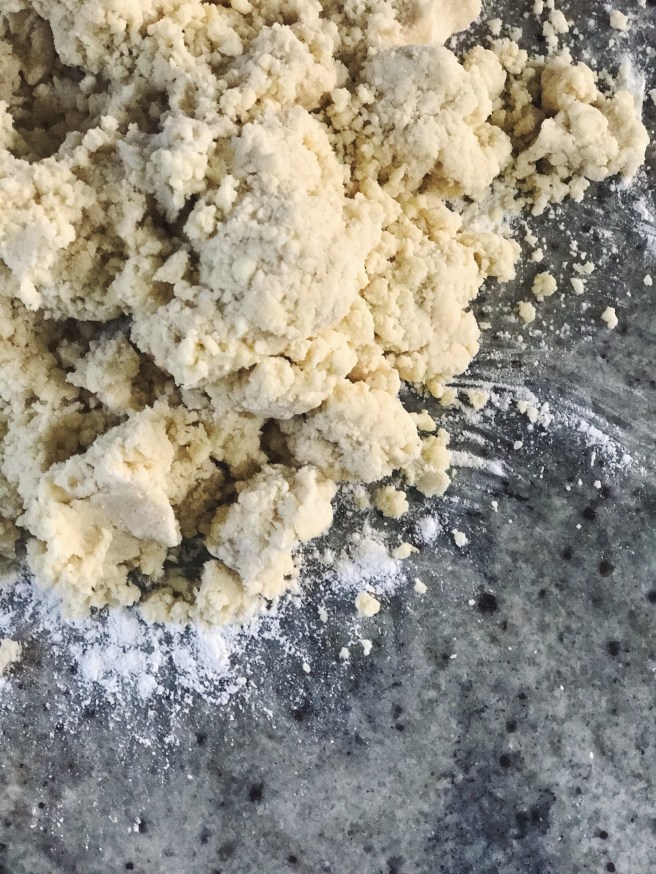
Measure the dry ingredients into the bowl (equipped with the steel blade). Quarter the chilled sticks of butter lengthwise and cut crosswise into 3/8-inch pieces; add to the flour along with the chilled shortening. Flick the machine on and off 4 or 5 times, then measure out a scant half cup of iced water. Turn on the machine and pour it all in at once; immediately flick the machine on and off several times, and the dough should begin to mass on the blade. If not, dribble in a little more water and repeat. Dough is done when it has begun to mass; do not overmix it. Scrape the dough out onto your work surface, and proceed to the fraisage.


It only takes seconds to start coming together. Here’s a good test: lightly squeeze a handful of crumbs – if they hold together, stop! Time to dump it out onto a lightly floured surface and do the final step…
The Fraisage
Fraisage means “final blending.” Here are Julia’s instructions (p. 141):
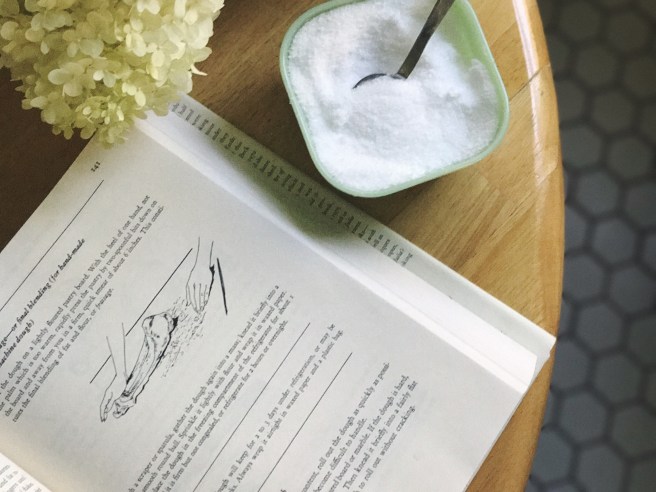
With the heel of one hand, not the palm which is too warm, rapidly press the pastry by two-spoonful bits down on the board and away from you in a firm, quick smear of about 6 inches. This constitutes the final blending of fat and flour.
Once this is done, quickly make your dough into a smooth ball and slice it in half. Press those halves into two disks and wrap in plastic wrap. Chill in the fridge for at least 20 minutes, or up to 3 days. (Or even freeze it!)

Rolling Out the Dough
Pull your dough out of the fridge and let it warm up just slightly, otherwise it’ll crack around the edges. You want cool, firm, but pliable dough, dusted with flour so that it doesn’t stick to your counter or rolling pin.

Whack the dough with your rolling pin a couple times to soften it. Then, working from the middle, roll out firmly, rotate the crust ¼ turn and roll out again. Keep rotating by ¼ turns so that you’re expanding a nice even circle that’s about 1” wider than your pie plate on all sides. Add flour as needed, to keep it from sticking.
Ideally, you’ll see flecks of butter in the dough – this is a good thing! As they melt, they’ll leave air pockets that will create that delicious flaky crust.
Carefully fold the dough in half or flip it over your rolling pin and transfer it into your pie plate.
Add your filling, then roll out the top crust the same way, slide it on top, trim off any excess, leaving about 3/4 to 1 inch to tuck under, forming a smooth edge to crimp. This will seal the pie for baking.
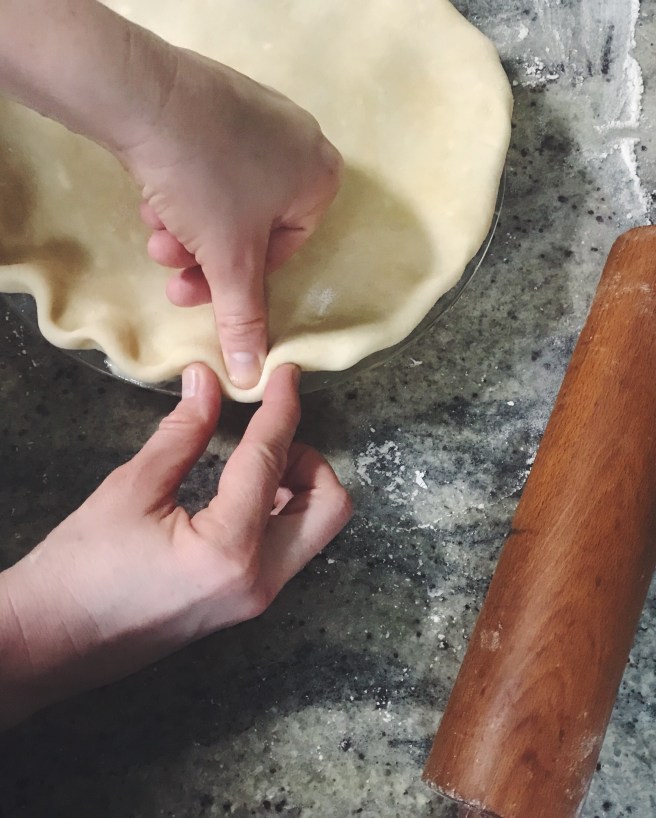
To make a classic crimp, press your left thumb in between your right thumb and pointer finger. I like how a big, wavy edge looks, so I keep mine nice and wide.
Finishing the Pie
Use a sharp knife to slice a few air vents in the top (opportunity for a pretty design!), then pop the whole thing in the freezer for 15-20 minutes.
This is a good moment to preheat the oven, according to your recipe.
Make a quick egg wash (1 egg whisked with a splash of water) and brush it all over the top once the pastry is chilled firm. Add a sprinkle of sugar, if you like – it makes a pretty, crystallized layer on top when baked.

Bake the pie according to your recipe instructions.
Keep a close eye during the last 20 minutes or so, and if the edges brown up faster than the middle, grab a piece of tinfoil, fold it into quarters and cut out the middle to make a ring of foil. This will shield the edges from browning any further, while letting the middle catch up.


Slicing & Storing
If you bake your pie a couple hours before serving it, chances are, it’ll be a sloppy mess when you slice it! Fruit pies, in particular, are best baked the day ahead. This allows the natural fruit pectin to really set up and slice cleanly.
If you bake your pie ahead, don’t refrigerate it unless it’s a cream pie of some sort. Don’t cover it, either, or the crust will get soggy. I like to store pies in the kitchen cabinet, so they’re protected, but have some ventilation.
When it comes to leftovers, don’t cover the crust then either. Press plastic wrap along the open pie filling, but leave the top crust uncovered. It’ll still be delicious the next day!


Looks too yummy
LikeLike